
Mini Lemon Cheesecake Tarts
With a delightful balance of tangy and sweet, Mini Lemon Cheesecake Tarts are a charming dessert that everyone will adore. These little bites are perfect for various occasions, from casual picnics to elegant dinner parties. Their no-bake nature makes them quick and easy to whip up, and you can customize the toppings with your favorite fruits. These tarts are sure to impress your guests and satisfy your sweet tooth!

Why You’ll Love This Recipe
- Quick to Prepare: With just 20 minutes of prep time, you can have these delicious tarts ready in no time.
- No Baking Required: Enjoy the ease of making a dessert that doesn’t require an oven, making it perfect for hot days.
- Versatile Toppings: Top off your tarts with fresh fruit or preserves to suit your taste and make them visually stunning.
- Perfect Portions: Each mini tart is just the right size for a sweet treat without overindulging.
- Crowd-Pleaser: These tarts are sure to be a hit at any gathering, appealing to both lemon lovers and cheesecake fans alike.
Tools and Preparation
Before you start making your Mini Lemon Cheesecake Tarts, gather all necessary tools. Having everything ready will streamline your cooking process.
Grab This Chef Knife Now - Almost Gone!
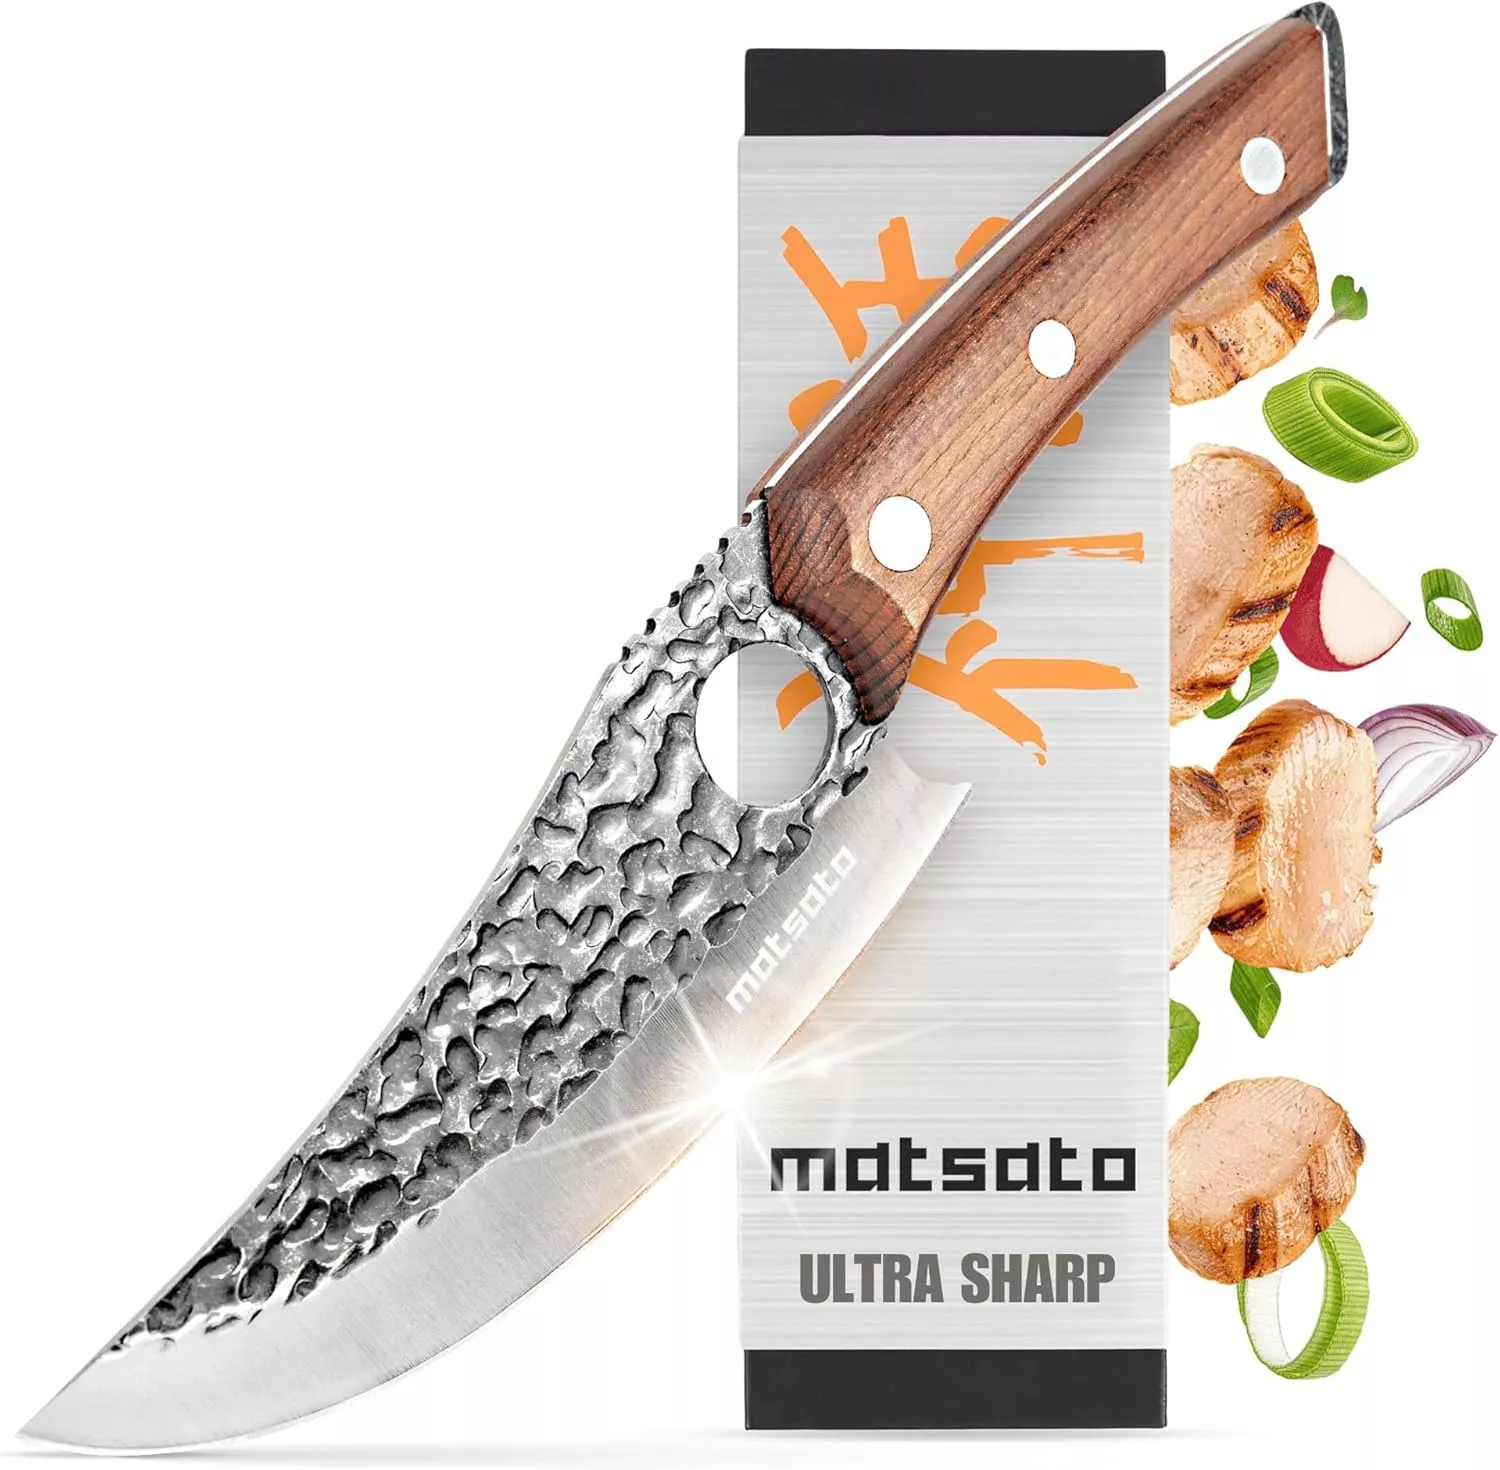
- Stays Razor-Sharp: Ice-hardened blade keeps its edge longer than ordinary knives
- Superior Grip Control: Unique finger hole design gives you perfect balance and safety
- Built to Last a Lifetime: Premium stainless steel blade with elegant beech wood handle
Customer Reviews ★★★★★
Essential Tools and Equipment
- Mixing bowl
- Electric mixer
- Measuring cups and spoons
- Muffin tin
- Plastic wrap
Importance of Each Tool
- Mixing bowl: A spacious bowl allows you to easily combine ingredients without spilling.
- Electric mixer: Makes blending cream cheese into a smooth filling effortless.
- Muffin tin: Perfectly shapes the crusts for your mini tarts, ensuring they hold together well.
Ingredients
For the Crust
- 1 cup graham cracker crumbs (5 ounces, or 10 crackers crushed)
- 2 tablespoons granulated sugar
- 6 tablespoons unsalted butter (melted)
For the Filling
- 1 8-oz package cream cheese (softened)
- 1/2 cup sugar
- 2 teaspoons lemon zest (divided)
- 2 tablespoons lemon juice (freshly squeezed)
- 1/3 cup heavy whipping cream
- 1/4 teaspoon vanilla extract
For Garnish
- Fresh fruit or fruit preserves
How to Make Mini Lemon Cheesecake Tarts
Step 1: Prepare the Crust
- In a mixing bowl, combine the graham cracker crumbs, granulated sugar, and melted butter. Mix until well combined.
- Press this mixture evenly into the bottom of each muffin tin section to form a crust.
Step 2: Make the Filling
- In another bowl, use an electric mixer to beat together the softened cream cheese, sugar, lemon zest, and lemon juice. Mix until smooth.
- In a separate bowl, whip the heavy whipping cream until stiff peaks form. Gently fold this into the cream cheese mixture until fully combined.
Step 3: Assemble the Tarts
- Spoon or pipe the filling into each prepared crust in the muffin tin.
- Smooth out the tops with a spatula for an even finish.
Step 4: Chill
- Cover the muffin tin with plastic wrap and refrigerate for at least 2 hours or until firm.
Step 5: Serve
- Once chilled, carefully remove each tart from the muffin tin.
- Top with fresh fruit or your choice of fruit preserves before serving.
Enjoy these delightful Mini Lemon Cheesecake Tarts at your next celebration!
How to Serve Mini Lemon Cheesecake Tarts
Serving mini lemon cheesecake tarts is all about presentation and pairing them with delightful accompaniments. Here are some creative ideas to enhance your dessert experience.
With Fresh Berries
- Strawberries: Slice fresh strawberries and arrange them on top for a pop of color and flavor.
- Raspberries: Their tartness complements the creamy cheesecake filling beautifully.
- Blueberries: Scatter blueberries for a sweet burst that pairs well with lemon.
Accompanied by Whipped Cream
- Sweetened Whipped Cream: A dollop of lightly sweetened whipped cream adds richness.
- Flavored Whipped Cream: Try adding vanilla or lemon zest to whipped cream for an extra zing.
Served on a Dessert Platter
- Mixed Fruit Platter: Arrange the mini tarts alongside various fruits for a refreshing contrast.
- Chocolate Drizzle: Drizzle melted chocolate over the tarts for added indulgence.
With Fruit Preserves
- Lemon Curd: Top with lemon curd for an intensified citrus flavor.
- Raspberry Preserve: This adds a tart sweetness that balances the cheesecake’s creaminess.

How to Perfect Mini Lemon Cheesecake Tarts
To achieve the best mini lemon cheesecake tarts, consider these essential tips that will elevate your dessert game.
- Use Room Temperature Ingredients: Ensure your cream cheese is softened to mix smoothly and avoid lumps.
- Fresh Lemon Juice: Always opt for freshly squeezed lemon juice to enhance flavor, rather than bottled versions.
- Chill Thoroughly: Allow the tarts to chill in the fridge for at least two hours to set properly and develop flavors.
- Experiment with Garnishes: Don’t hesitate to try different fruits or even edible flowers as unique toppings.
- Adjust Sweetness: Taste your filling before setting it; you can adjust sugar levels based on personal preference.
Best Side Dishes for Mini Lemon Cheesecake Tarts
Pairing side dishes with mini lemon cheesecake tarts can create a well-rounded dessert table. Here are some delightful options.
- Fruit Salad: A vibrant mix of seasonal fruits provides freshness and balances sweetness.
- Chocolate Mousse: This rich dessert contrasts nicely with the lightness of the tarts.
- Pavlova: A light meringue dessert topped with whipped cream and fruit complements the cheesecakes’ texture.
- Ice Cream: Vanilla or lemon sorbet can be refreshing alongside the tart flavors.
- Cheese Platter: A selection of cheeses can offer a savory touch that pairs well with sweets.
- Shortbread Cookies: These buttery cookies add crunch and are perfect for dipping into any leftover cheesecake filling.
Common Mistakes to Avoid
Making Mini Lemon Cheesecake Tarts can be easy, but there are some common pitfalls to watch out for.
- Overmixing the filling: This can lead to a dense texture. Mix just until ingredients are combined for a light cheesecake.
- Using cold cream cheese: Cold cream cheese can create lumps. Always soften it at room temperature before mixing.
- Skipping the zest: Lemon zest adds essential flavor. Don’t skip it; use fresh lemons for the best taste.
- Neglecting chill time: These tarts need time to set. Be patient and let them chill for at least two hours before serving.
- Not tasting before serving: Always taste your filling. Adjust sweetness with sugar or tartness with lemon juice as needed.

Storage & Reheating Instructions
Refrigerator Storage
- Store in an airtight container.
- Keep in the refrigerator for up to 4 days.
Freezing Mini Lemon Cheesecake Tarts
- Wrap each tart individually in plastic wrap.
- Place in a freezer-safe container; they can last up to 2 months.
Reheating Mini Lemon Cheesecake Tarts
- Oven: Preheat to 350°F (175°C) and warm for about 10 minutes. This helps maintain texture.
- Microwave: Heat for 15-20 seconds on low power. Monitor closely to avoid overheating.
- Stovetop: Not recommended, as it may alter the texture of the tarts.
Frequently Asked Questions
Here are some common questions about making Mini Lemon Cheesecake Tarts.
Can I use store-bought crust for Mini Lemon Cheesecake Tarts?
You can definitely use store-bought crusts if you’re short on time. Just ensure they fit your tart pans well.
How do I customize my Mini Lemon Cheesecake Tarts?
Feel free to add different flavors like raspberry or lavender. You can also swap lemon juice with lime juice for a twist.
How long do Mini Lemon Cheesecake Tarts last?
When stored properly, these tarts will last about four days in the refrigerator and up to two months in the freezer.
What fruits pair well with Mini Lemon Cheesecake Tarts?
Fresh berries like strawberries, blueberries, or raspberries complement these tarts beautifully. You can also try kiwi or mango!
Final Thoughts
These Mini Lemon Cheesecake Tarts are not only delightful but also versatile. Perfect for any gathering, they can be customized with various fruits or flavors. Give them a try and enjoy their refreshing taste!

Mini Lemon Cheesecake Tarts
- Total Time: 0 hours
- Yield: Makes approximately 12 servings 1x
Description
Indulge in the delightful taste of Mini Lemon Cheesecake Tarts, where creamy cheesecake meets a refreshing burst of citrus flavor. These charming no-bake desserts are perfect for any occasion, from casual gatherings to sophisticated dinner parties. With a quick preparation time and versatile toppings, you can customize these bite-sized treats to suit your guests’ tastes. Each mini tart is a sweet sensation that balances tangy lemon with rich creaminess, making them an instant crowd-pleaser. Impress your family and friends with these easy-to-make tarts that deliver big flavor in every petite portion.
Ingredients
- 1 cup graham cracker crumbs
- 2 tablespoons granulated sugar
- 6 tablespoons unsalted butter (melted)
- 1 package (8 oz) cream cheese (softened)
- 1/2 cup sugar
- 2 teaspoons lemon zest
- 2 tablespoons fresh lemon juice
- 1/3 cup heavy whipping cream
- Fresh fruit or fruit preserves for garnish
Instructions
- Prepare the crust by mixing graham cracker crumbs, sugar, and melted butter. Press the mixture into a muffin tin to form crusts.
- Make the filling by blending softened cream cheese, sugar, lemon zest, and lemon juice until smooth. Whip the heavy cream separately until stiff peaks form, then fold it into the cream cheese mixture.
- Spoon or pipe the filling into each crust and smooth out the tops.
- Cover and refrigerate for at least 2 hours until firm.
- Serve chilled with fresh fruit or preserves on top.
- Prep Time: 20 minutes
- Cook Time: None
- Category: Dessert
- Method: No-Bake
- Cuisine: American
Nutrition
- Serving Size: 1 serving
- Calories: 150
- Sugar: 9g
- Sodium: 78mg
- Fat: 10g
- Saturated Fat: 6g
- Unsaturated Fat: 4g
- Trans Fat: 0g
- Carbohydrates: 14g
- Fiber: <1g
- Protein: 2g
- Cholesterol: 30mg


